
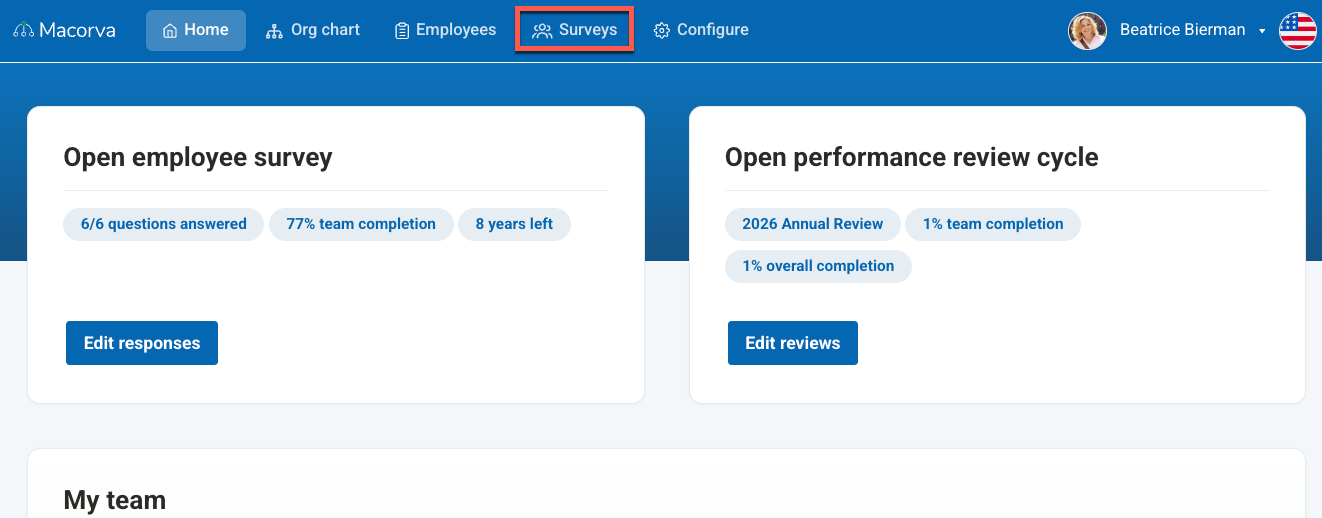
- From the main dashboard, click on Surveys in the top navigation bar.
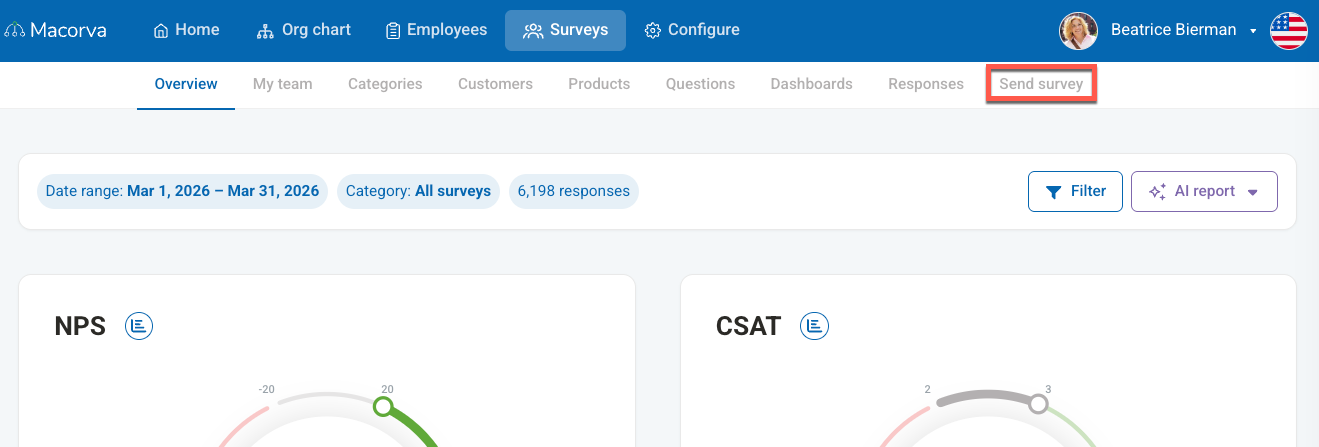
- In the secondary navigation menu below, select Send survey.
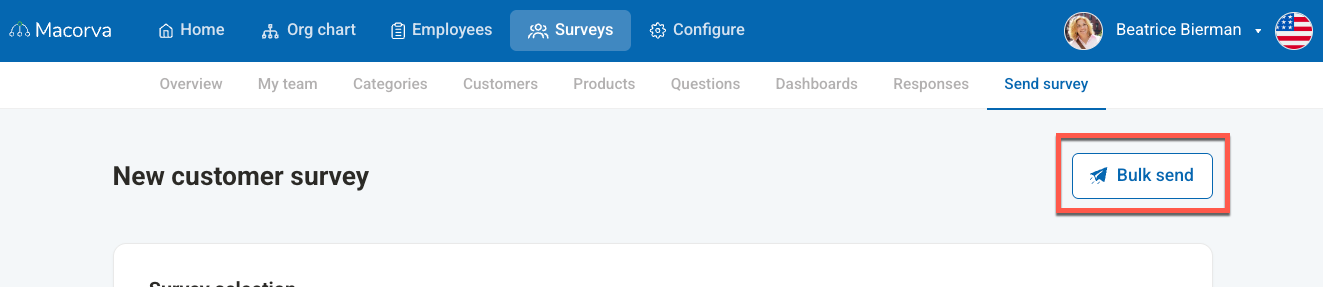
- Click the Bulk send button located in the upper right corner of the page.
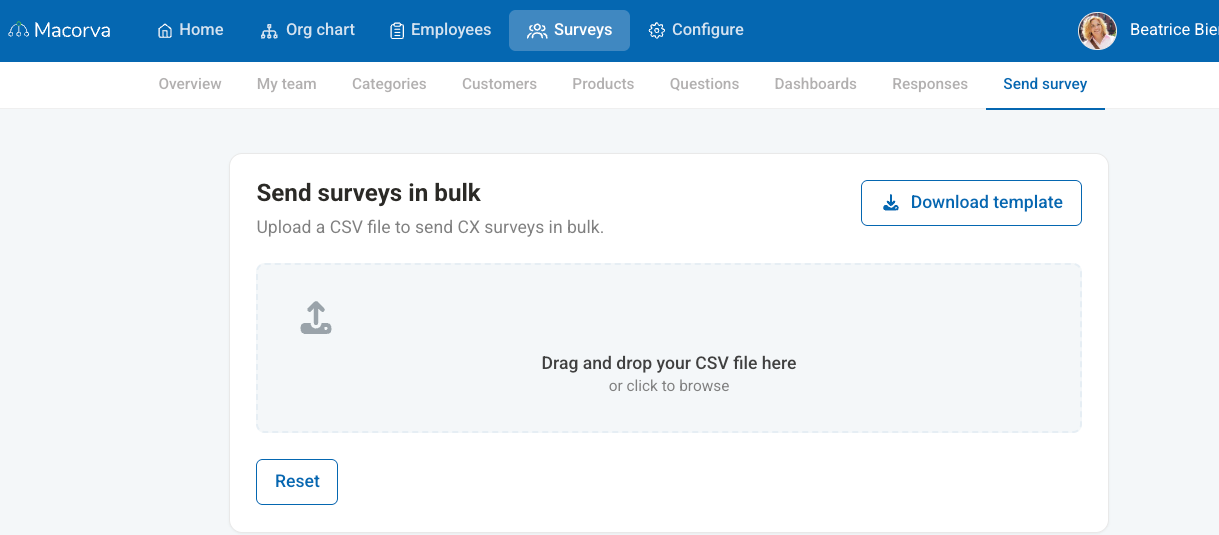
- On the "Send surveys in bulk" page, drag and drop your file, or click and upload.
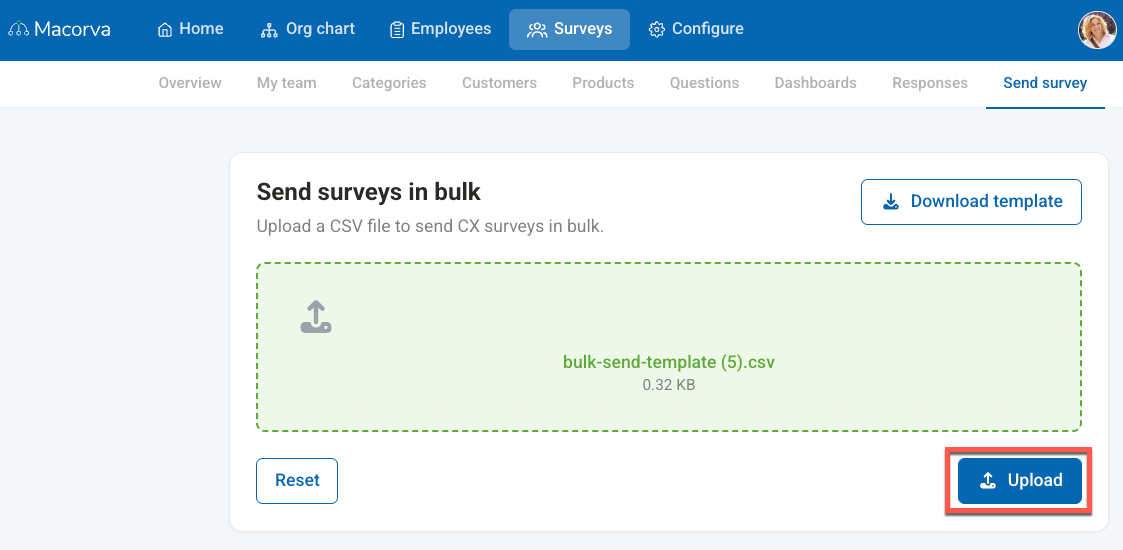
- Click the Upload button to upload the file to the system.
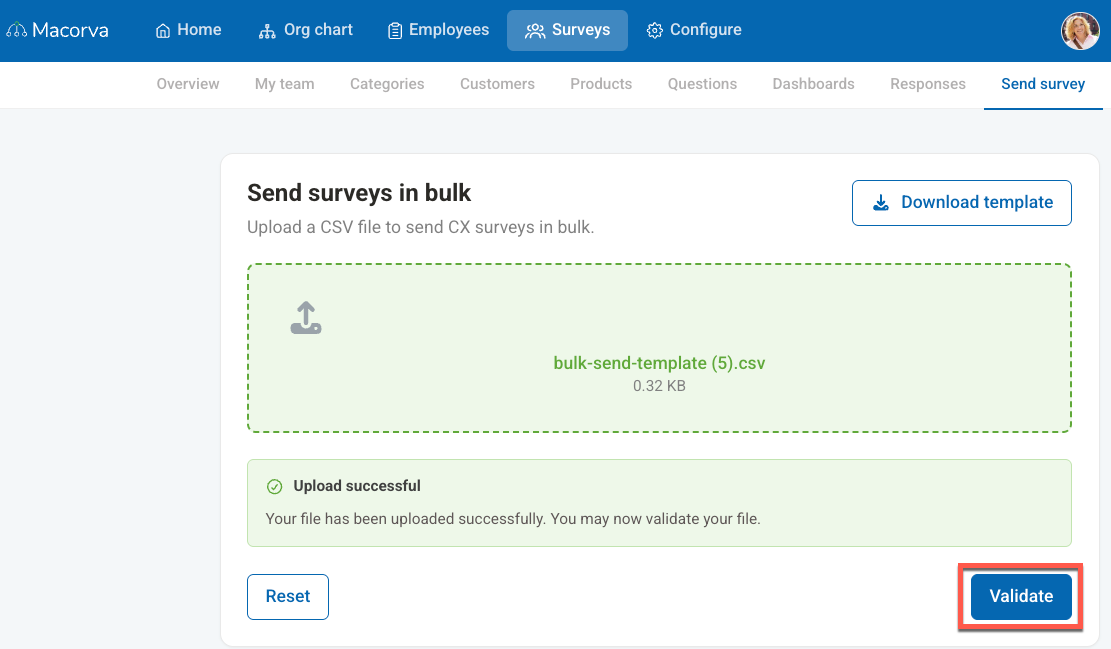
- Wait for the "Upload successful" message, then click the Validate button to ensure your file data is correct.
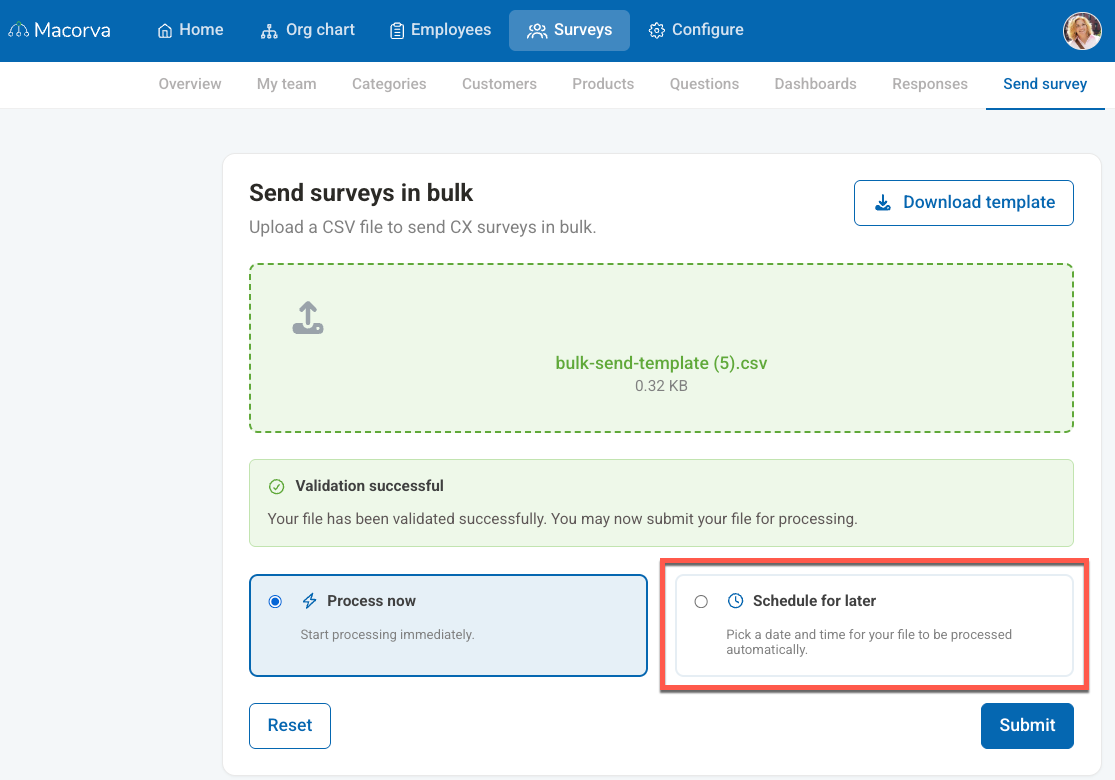
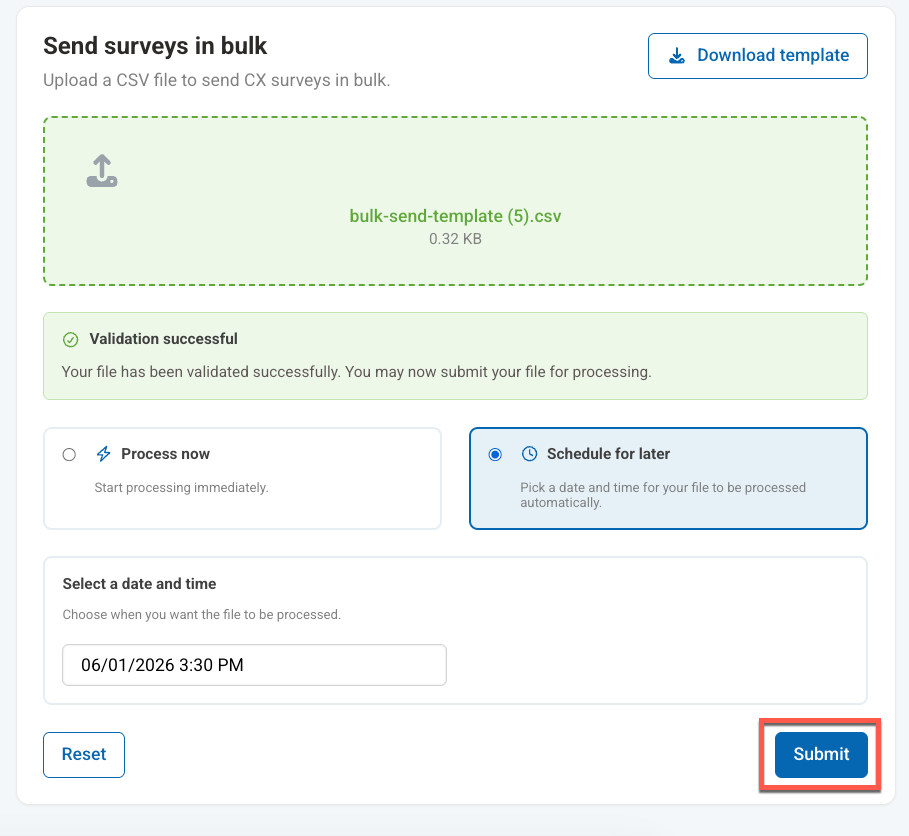
- Once the "Validation successful" message appears, you will see processing options. Select the radio button for Schedule for later.
- Click on the "Select a date and time" field to open the calendar. Choose your desired date and then select the specific time from the dropdown list on the right.
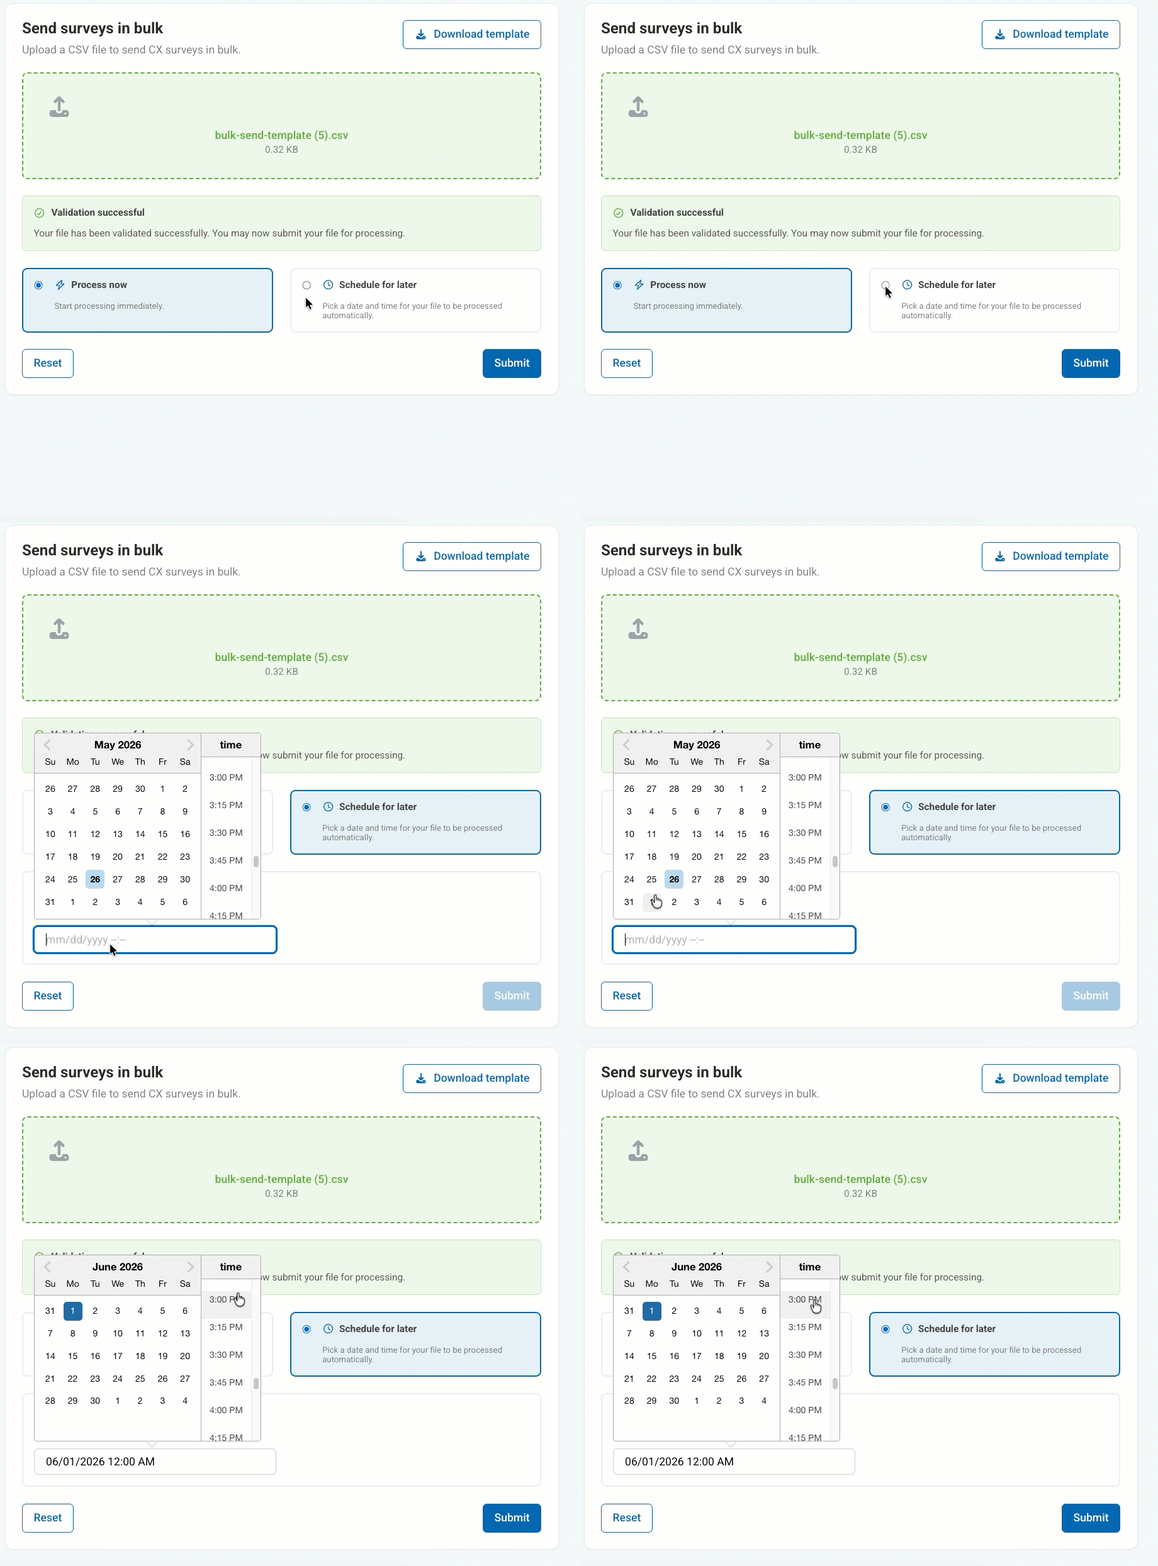
- Finally, click the Submit button to schedule your bulk survey.
Before and after you submit
Verify the survey, validated recipients, date, time, and intended time zone. If the scheduler does not display a time zone, confirm it with your Macorva administrator before submitting.
After submitting, keep the scheduled time and any confirmation shown on screen. If the status is unclear or you need to cancel or reschedule the send, contact Macorva Support promptly with the survey name, scheduled time, and any confirmation details. Verify the original send’s status before uploading the batch again.
For CSV fields and validation, see Send surveys to a list of customers.